My Longer LK5 Pro Mods
We are going to walk through how I set up my Longer LK5 Pro (Ordered on June 16, 2022). I have done some updates to the machine including:
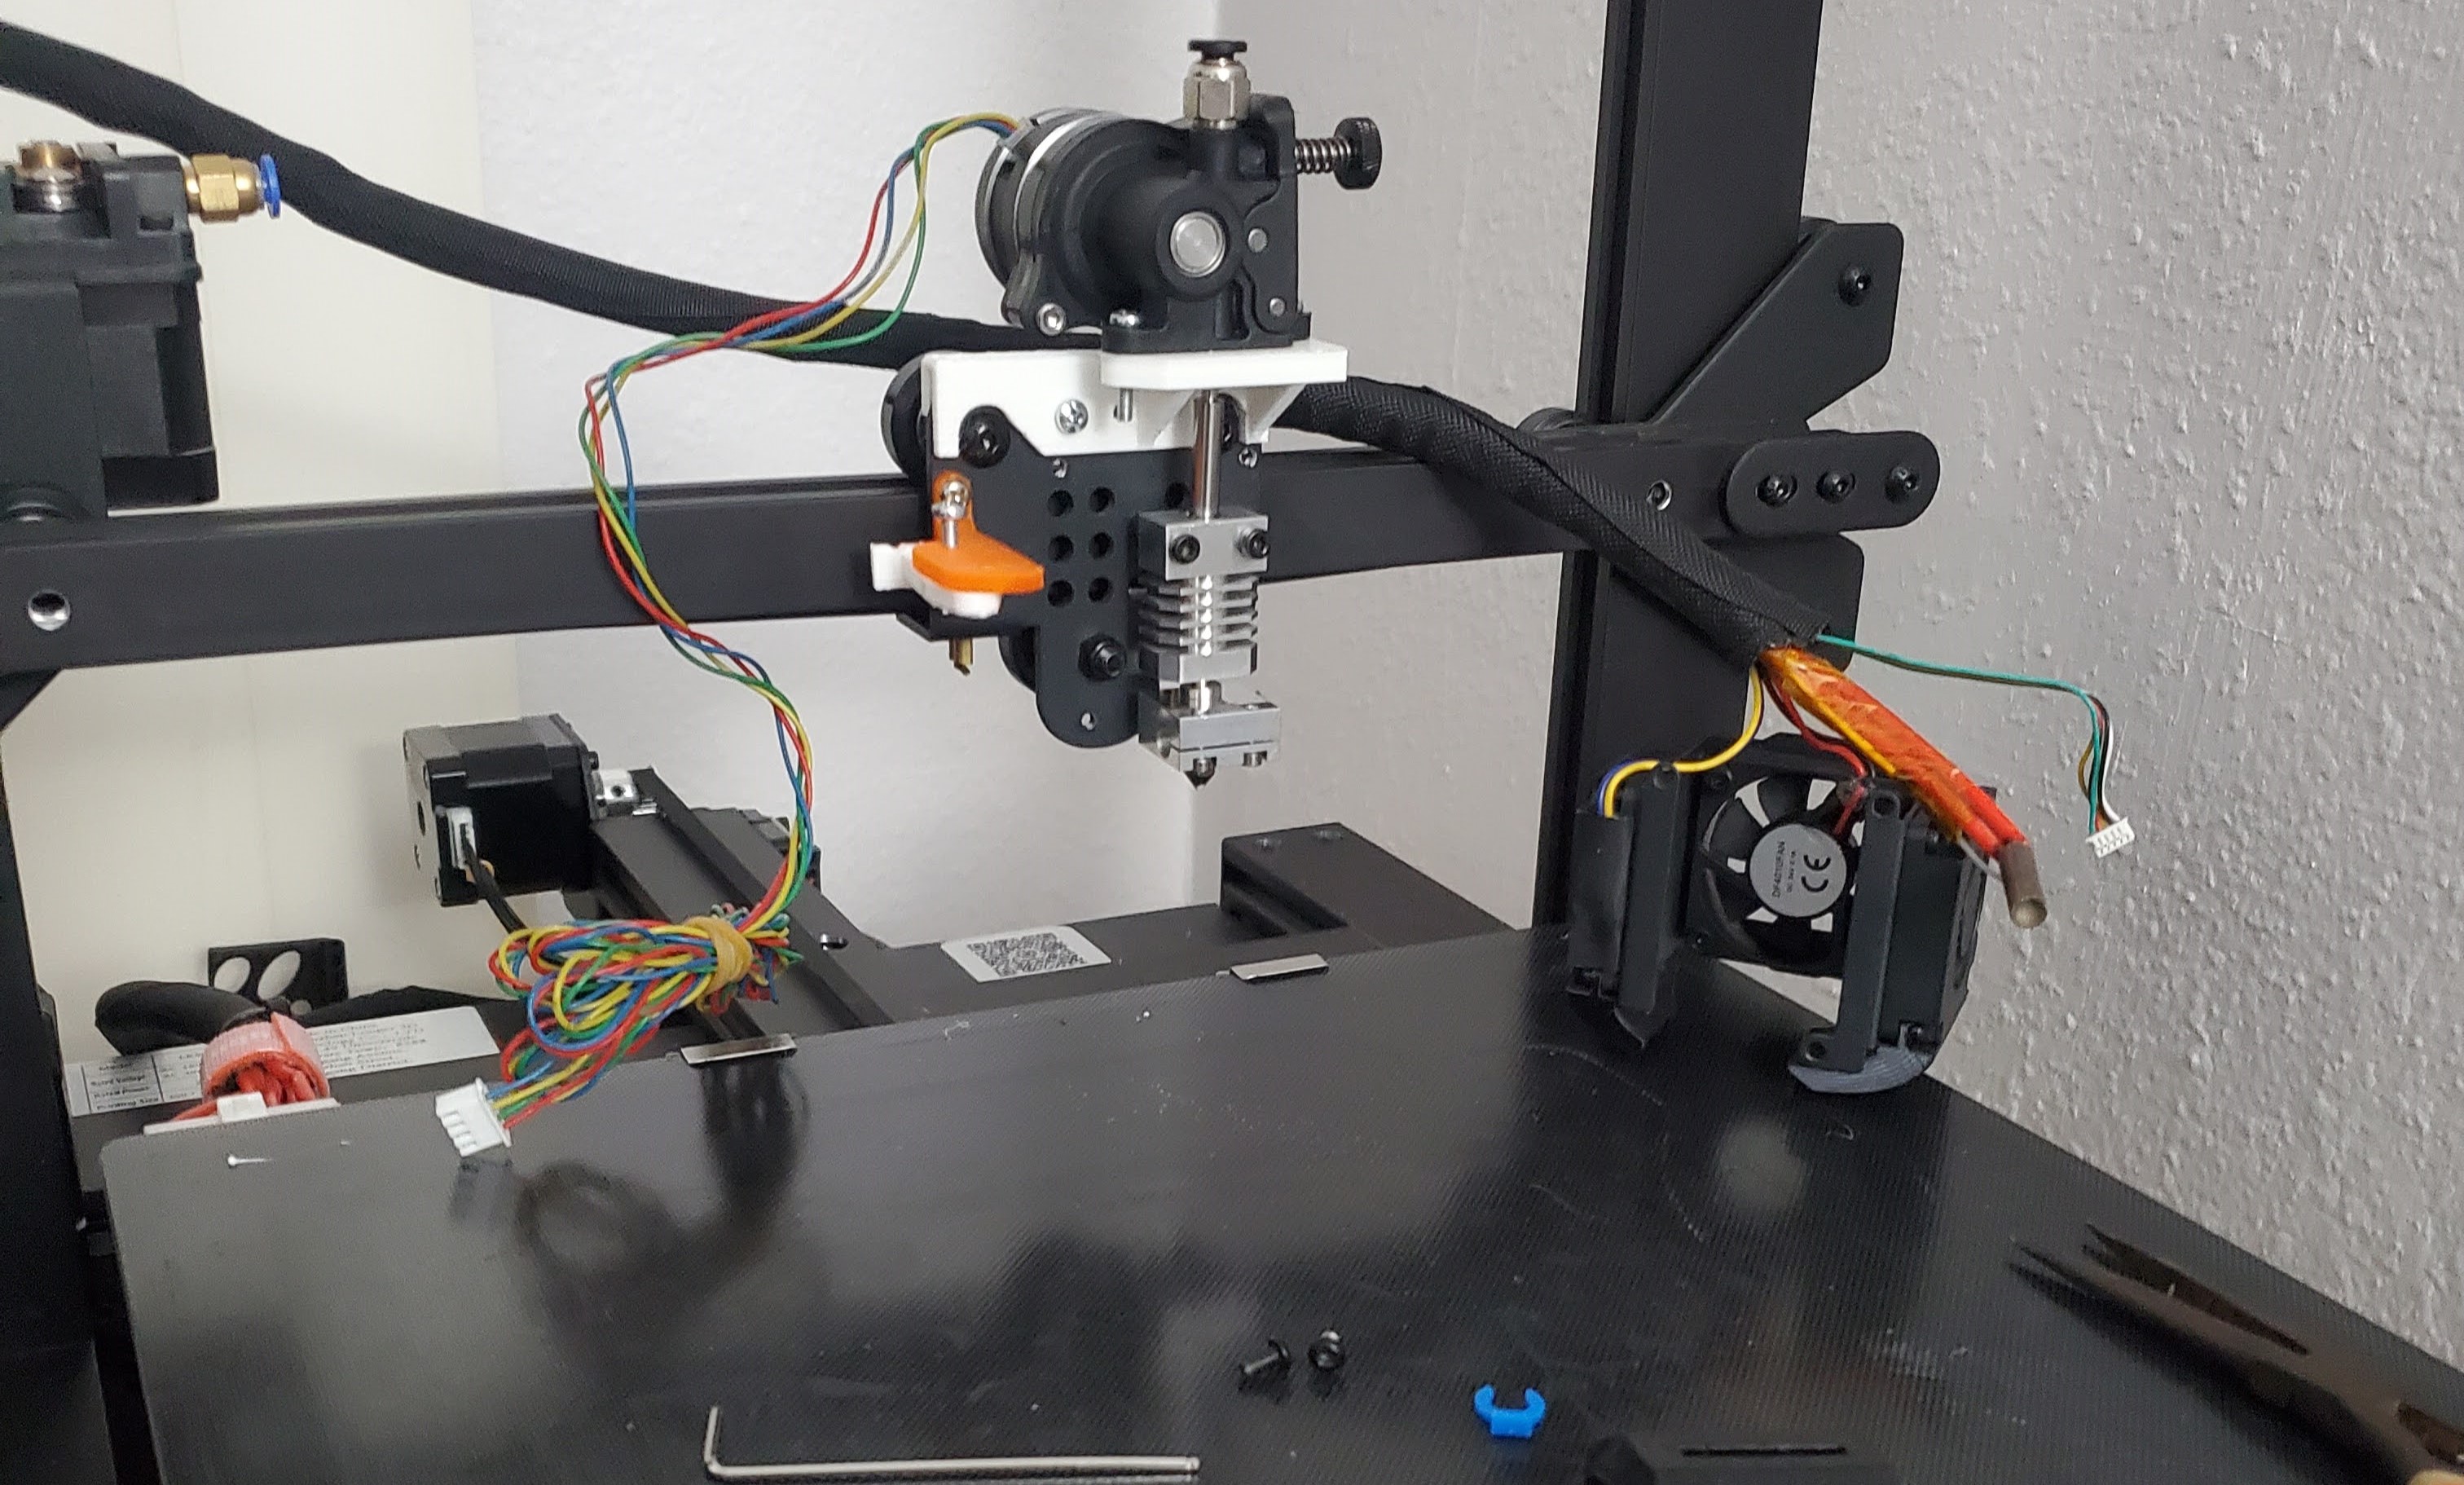
- Orbiter v1.5 direct drive extruder
- All metal hot end
- Dual z screws
- Klipper firmware
- 3D touch bed probe
I also added my old phone as a server, running OctoPrint and (octo4a). So that I could monitor and control it remotely. I ran this using Marlin firmware for around a year until I updated to Klipper. There are newer solutions that could work better that I am going to look more into. I think this looks like a cool project.
3D Touch / BL Touch
I used this guide from Longer to do my install.
Because of the taller build volume, I had to extend the wiring. The kit I purchased was for an Ender 3. I chose to solder the extension in the middle so that I can use the connectors without having to take them apart. They are easily broken in my experience.
Be sure to use heat shrink tubing to cover your solder connections and add them into the wiring loom.

Dual Z Screws
The dual z screw upgrade is fairly easy on this printer though I am not sure I would recommend it unless you get a new board. I say this because there are no more motor controllers available on the stock board. There is a second slot ready for a slaved 2nd motor but I found this does not work well because the gantry will fall a bit when the machine is powered off. While running, most printers use a small amount (0.49 amps or so) of hold current to keep the weight from pulling it down. If we had controllers for each motor then we could use the G34 command to tram the gantry automatically. This is a good way to combat the extra weight of a direct drive extruder or z wobble.
I have removed it for now because of the constant need to tram the gantry. In the future, I may try something, like these tramming blocks.
All Metal Hot-End
I purchased a kit from Gulf Coast Robotics (closed) for an Ender 3 and it worked great. It was a little longer than stock, so I had to add some spacers to the probe. You could also print a new bracket.
The benefit of this upgrade is higher temps. The stock hot-end uses a PTFE tube that almost touches the heater block. PTFE starts to break down near 240c and can “off-gas” some pretty nasty stuff. That is why the stock config tops out at 250c. With this all metal hot end we don’t have to worry about the tube heating up (unless you have cooling issues) and we can safely hit higher temps like 280+.


In my opinion, this is an upgrade with no downside. It’s a no brainer and the kits start around $50 for a decent one. I would recommend going with a brand name here to ensure quality parts and manufacturing. I got mine from Gulf coast Robotics and they have since closed, sadly.
Orbiter v1.5 Direct Drive Extruder
A direct drive extruder has several advantages over the stock setup on the LK5 (and many other printers).
Because of the tighter tolerances in the pathway, filament is not as likely to get caught or tangled along the way. This is especially helpful when printing flexible filaments like TPU but it means more reliable extrusion for all types of filament.
We get improved retraction because the extruder sits just before the hot end. We are moving the material a shorter distance (0.6-1.4mm), and at a higher speed (60-120mm/s), thus gaining better control and shorter print times.
You can use a less powerful (cheaper, lighter) motor with a planetary gear to get high speeds and torque. This is important because the weight of the assembly has moved from the side of the printer to the toolhead. Adding weight here can cause the printer to have different acoustic qualities that will start to cause artifacts in the prints at high speeds. This is why I went with the Orbiter. At the time v2 was current and I found a v1.5 kit on sale.
I had to design a mounting plate for the motor because nobody had done this yet, or at least they didn’t post it to the internet. I am not very good at design but I am learning. I used the stock screw locations and mounted it backwards because the motor would run into the vertical supports when at either end of the X gantry.
An unintended benefit was that the noise level dropped. This thing is nearly silent now. The loudest part is the case fan.
Potential Negatives
The added weight can cause issues at higher speeds.
There is now more stuff close together. This can make disassembly more cumbersome. This may not sound like a big deal but I promise, you will be taking it apart on occasion. If for nothing other than maintenance.
Klipper
My config
Klipper is a 3d-Printer firmware. It combines the power of a general purpose computer with one or more micro-controllers.
Many people use a raspberry pi or an old laptop to act as the server. I wanted to use my old Samsung GS10 since I upgraded and it was just laying around. It’s got an 8 core processor and 8GB of RAM plus several cameras and all the radios I could want. Plus, I love recycling and reusing old electronics.
I found octo4a and got it setup according to their install guide. I would recommend doing a factory reset of the phone. Make sure you backup anything you don’t want to lose.
Once octo4a and OctoPrint are installed, you will want to install the plugin OctoKlipper. This lets OP talk to Klipper.
Here be Dragons
Everything, so far, has gone according to the documentation. Normally, you would flash Klipper to the printer using the raspi (or whatever). In this case we can’t because octo4a runs inside of a vm based on Alpine linux and this prevents us from accessing the host hardware directly. To get around this we simply follow the directions in the guide and use a PC to flash the firmware. I have a linux server that I use for several things in my home, so I used that. Follow the Klipper install guide for this part and clone, configure, build, and flash the firmware. Now you have Klipper installed on your phone (or whatever) and the printer. As long as you got the config setup earlier when setting up the server device you should be able to connect the printer to the phone and get a status of “ready” in OctoPrint. Here is my config. If the server device was already on then you may need to send a firmware reset command to the printer to connect. Side note, this was how I figured out that you need to include restart_method: command in the [mcu] section of the config file. That was the last problem blocking me from getting Klipper working with octo4a.
[mcu]
serial: /dev/ttyOcto4a
restart_method: command 
There are many benefits to installing Klipper like:
Ability to control multiple printers from the same server.
Settings are in a config file that can be easily edited.
I was able to nearly double my printer’s speed.